Earlier in the week after much deliberation I forked out for some POR-15 rust protection paint for the car. This stuff is supposed to be pretty good, and it isn''t cheap. I picked it up, along with a few other bits and bobs from Holden as they had a 24hr delivery service (which I needed by the time I''d decided what to get). The stuff comes in tiny tins (to reduce waste of the paint) but goes a long way. Here''s a before and after shot, all the painting was done by Dad.

So, to the old chassis... well first of all I''d been at the garage a few times in the last week or so and had been liberally applying our friend WD40 to everything that was to come off. The dampers were the first up and they came off relatively easily. The nuts came off fine, but the dampers themselves had siezed on. The design means that most of what you could "hit" to get it free is rubber, so we applied some lateral force by hitting the inner washer which did the trick on all four. Here''s a shot of one all loosened up ready to come off.
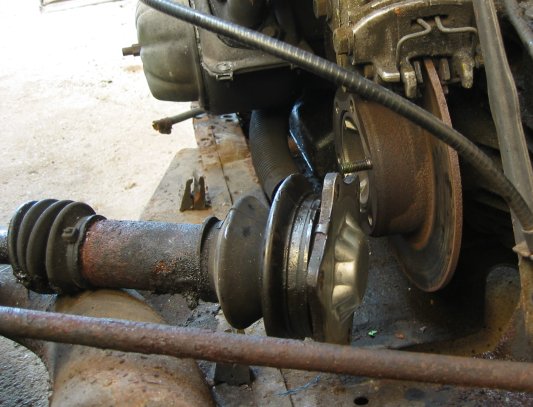
While some more WD40 was working away at the suspension bolts I took off the 6 nuts holding each drive shaft plate together and freed the wheels from the engine. That left just FOUR bolts (2 underneath at the front and 2 on the back of the gearbox) to free the whole engine assembley which the two of us lifted off.
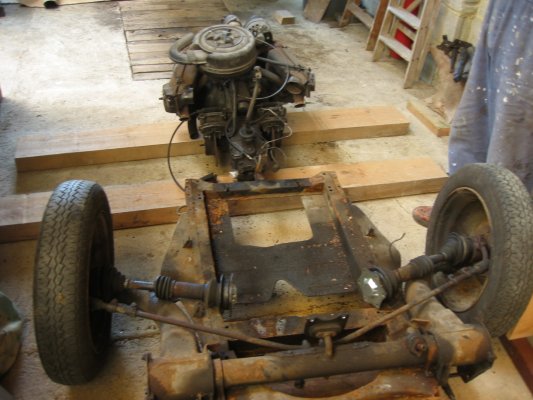
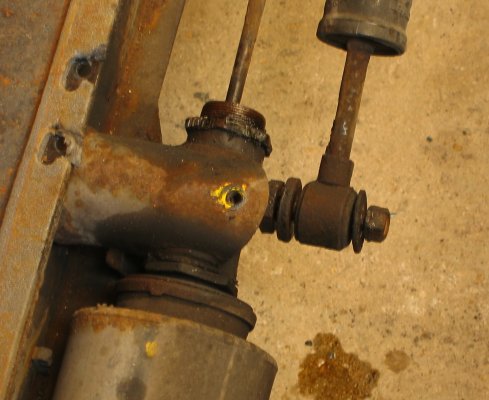
Next up we disconnected the four tie rods from their "knife edges" and this meant that the front and rear suspension units were only held on by four long bolts each.
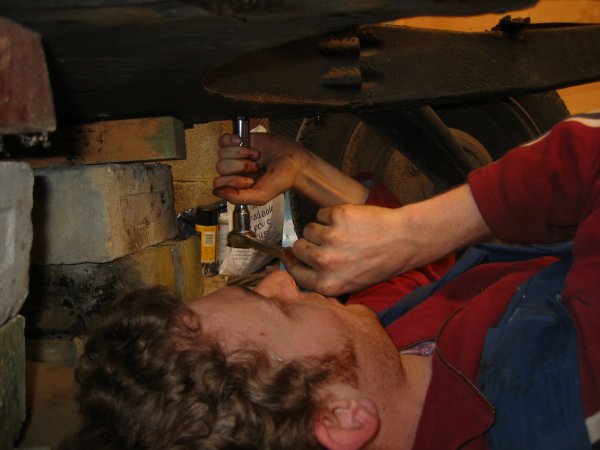
The bolts to the suspension units were tough but came free eventually, we had a problem on the front passenger side because someone had put a patch on the under-chassis near the bolts but we made room for the socket (we had to turn the car on its side to get at it though).
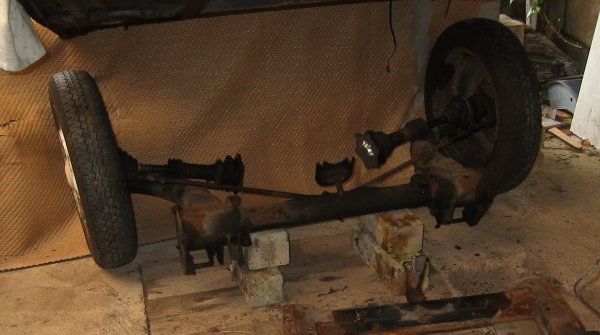
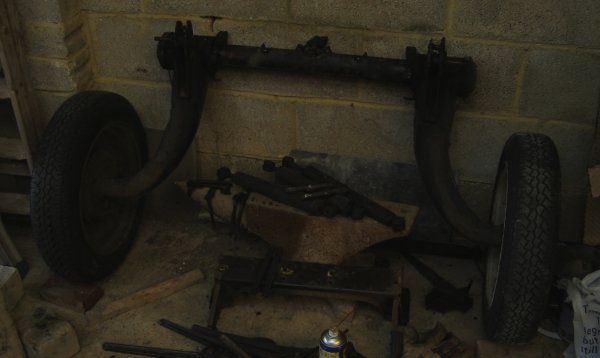
Here''s the two sets off.
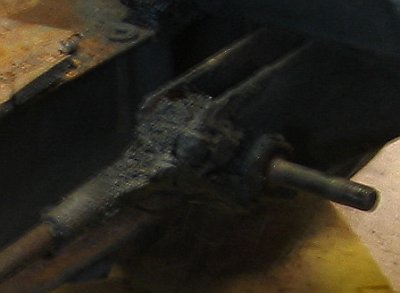
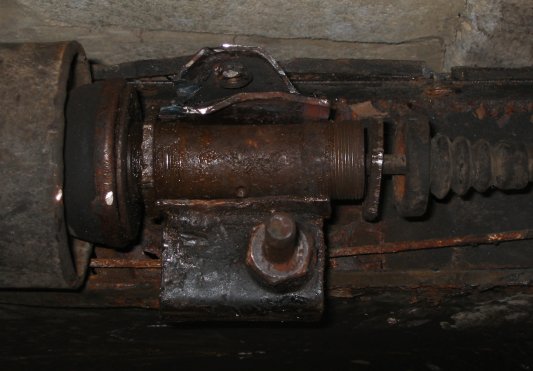
The final job was to remove the central suspension units from both sides. This prooved really hard. There is a cylinder at either end of each unit that goes through a member sticking out of the chassis. The cylinder had rusted in place, and the two adjuster nuts on the cylinder had rusted on too. After some persuasion the rear ones came out ok but the front cylinder on both sides wasn''t budging.
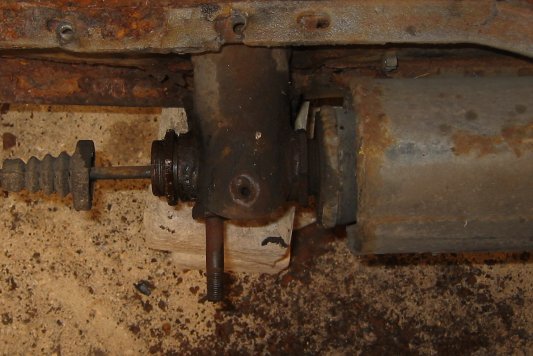
I gave up in the end and using a combination of angle grinding and brute force with a hammer and chissel the front chassis members were opened up so we could pull the cylinder out. The rear cylinder then slides out easily and the unit comes free.
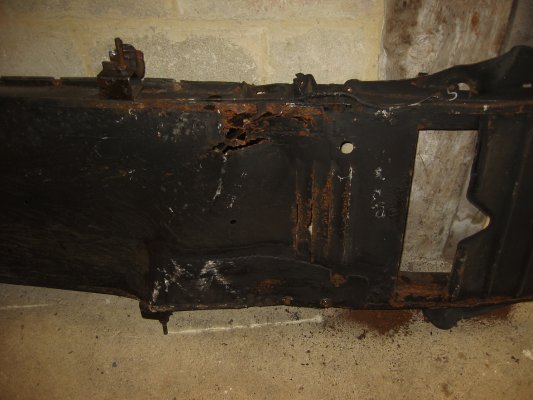
So we managed it. There were a few odds and ends along the way - handbrake unit came off before the engine, bonnet clip and a few bumb stops as well left the chassis empty. Here''s a reminder of why this was necessary.