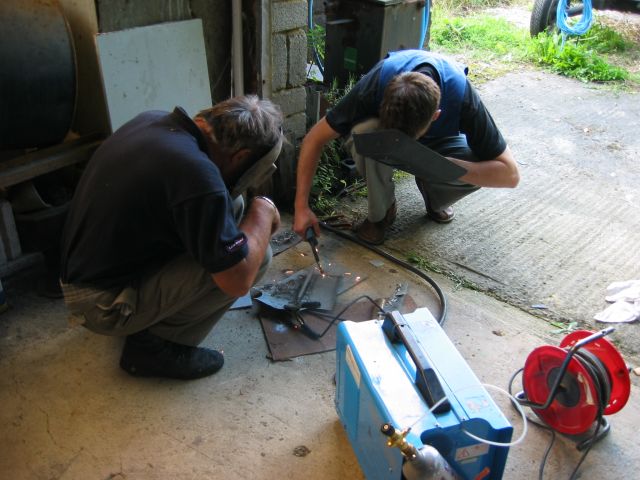
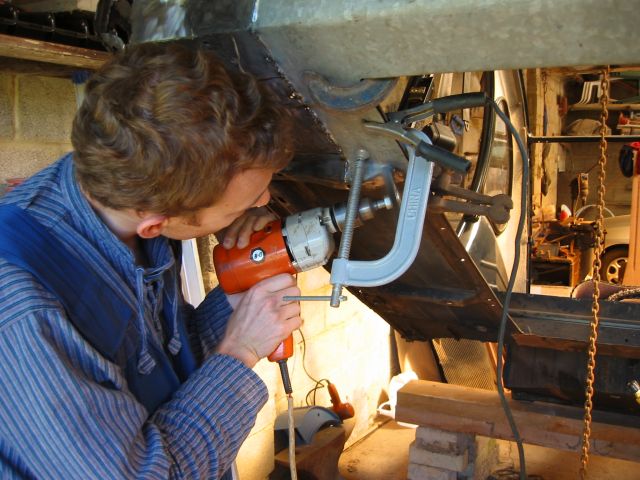
We hadn't welded before and so practiced in the morning with Ross's dad to try and get used to mig welding. We'd both done some reading up on the process and had mixed results with the welder, especially to start off with. The welder we had was quite powerful for the job in hand and we had it on the lowest voltage setting and a medium wire speed otherwise we burned straight through the bodywork.
We started on the patch I'd made for the rear of the foot well. this was in the least critical place and was also quite a small patch so seemed a good place to start.
The welder spat an awful lot and the resulting weld was mixed. In places it felt like it hardly melted in, and in others it burnt straight through the thin bodywork leaving a hole (with tell-tale spikes of weld wire coming through). Thankfully to keep our spirits up we could look at the welding done by the "pros" - the patches that were already done on the body - and saw some of the same symptoms.
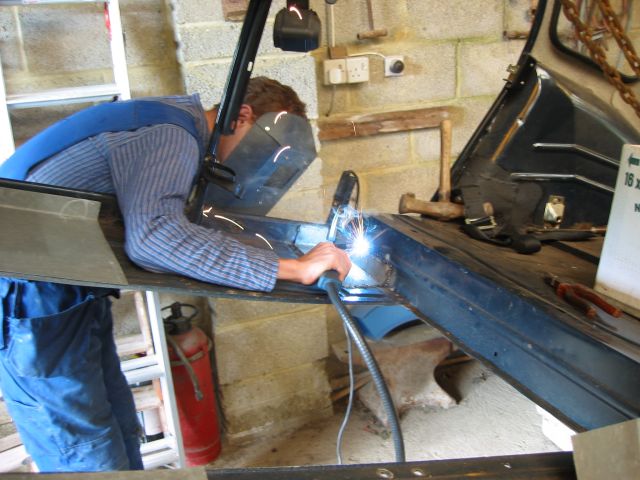
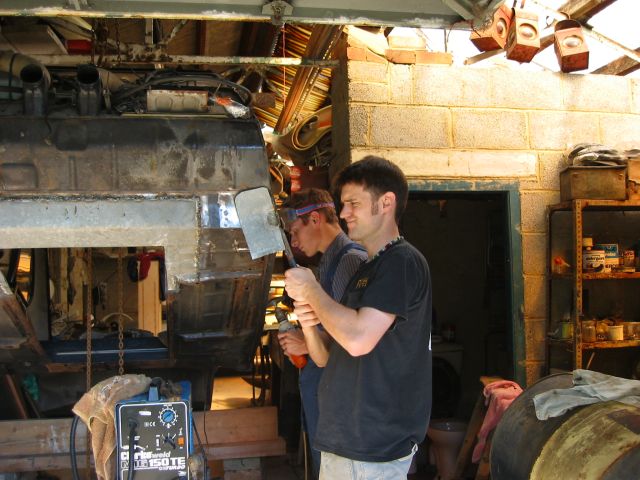
The resulting patch did feel pretty solid, and towards the end we were getting better. Here's a picture of ross with some fancy welding trails.
We moved on to our main patch in the centre front of the body. This we welded on the front of the body first, then on the underside. We decided we didn't need to weld along the line where it'll bolt to the chassis because the bolting down will hold it in place. We removed the fold over that we had there as well to lessen the thickness of material between body and chassis.
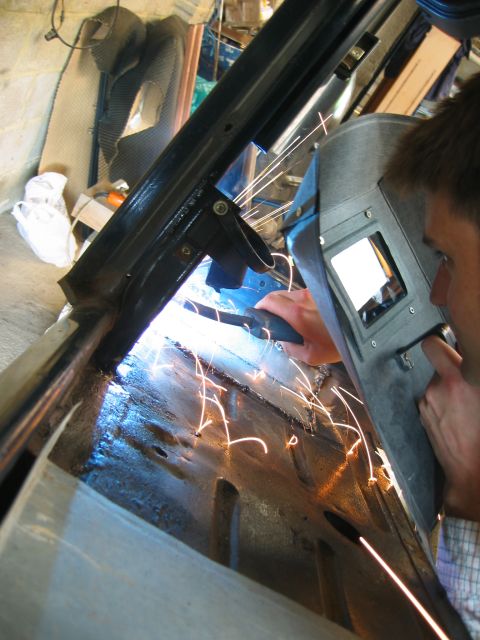
With each weld we cleaned up both metals as much as we could to ensure a better weld. On any long line we tagged in a few places while it was held/clamped in place and then joined up the gaps. This helps to lessen the distortion that happens as you weld. The harder places to weld were underneath the body. We can't really turn the body over, so were having to weld upside-down. We did raise the front as far as we could but it is awkward to stand underneath. On vertical (or slanted) welds it's better to weld down so your pool flows with your welding, rather than welding up.
After the centre piece was in place we banged in the passenger side support bar that we'd made to go in the bottom sill of the door (see 30th April). We welded around the plate on the end, and also ran a line along the sill on the inside of the car. The sill had rusted up from the foot well so there was a gap. When welding onto the bar we'd inserted, Ross cranked up the welder a bit as the metal was now thicker. It was easier to get a decent weld pool going and therefore get a much cleaner line when welding.
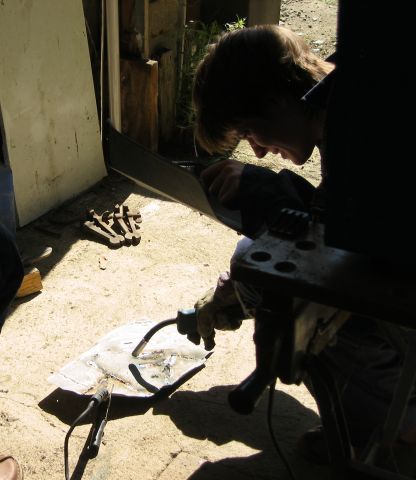
A picture of Ross snipping the end plate into shape before we weld it into place.
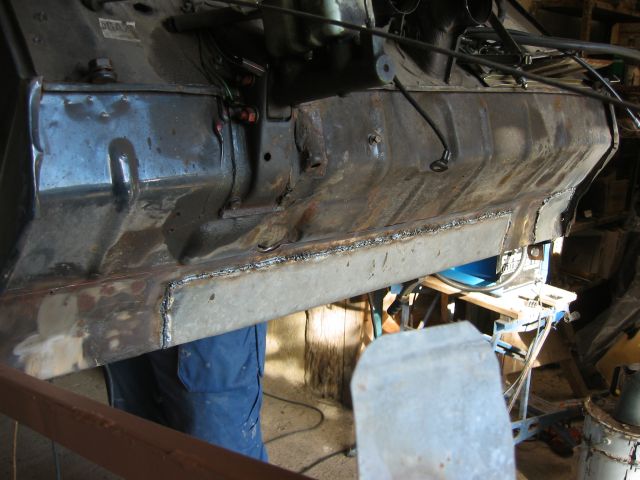
The finished centre and passenger side plates in place. Driver side sill bar yet to do.
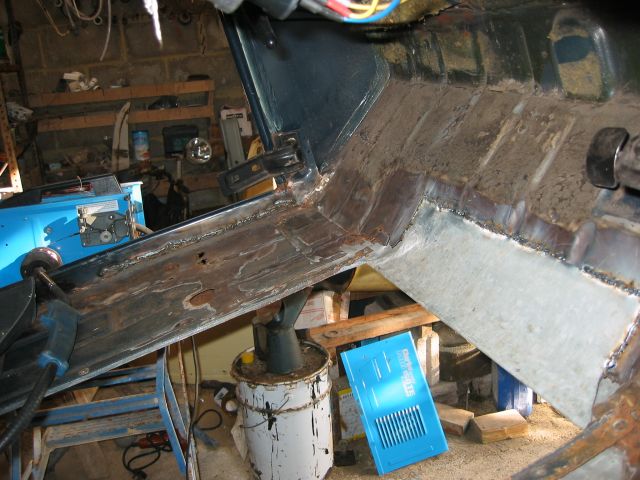
The finished centre piece from the inside. You can also see where the sill bar has been welded in place along the side.
Thanks to Amy who came down on Sunday and was official photographer for a while (hence some of the better action shots of us). She even had a go at welding too...